
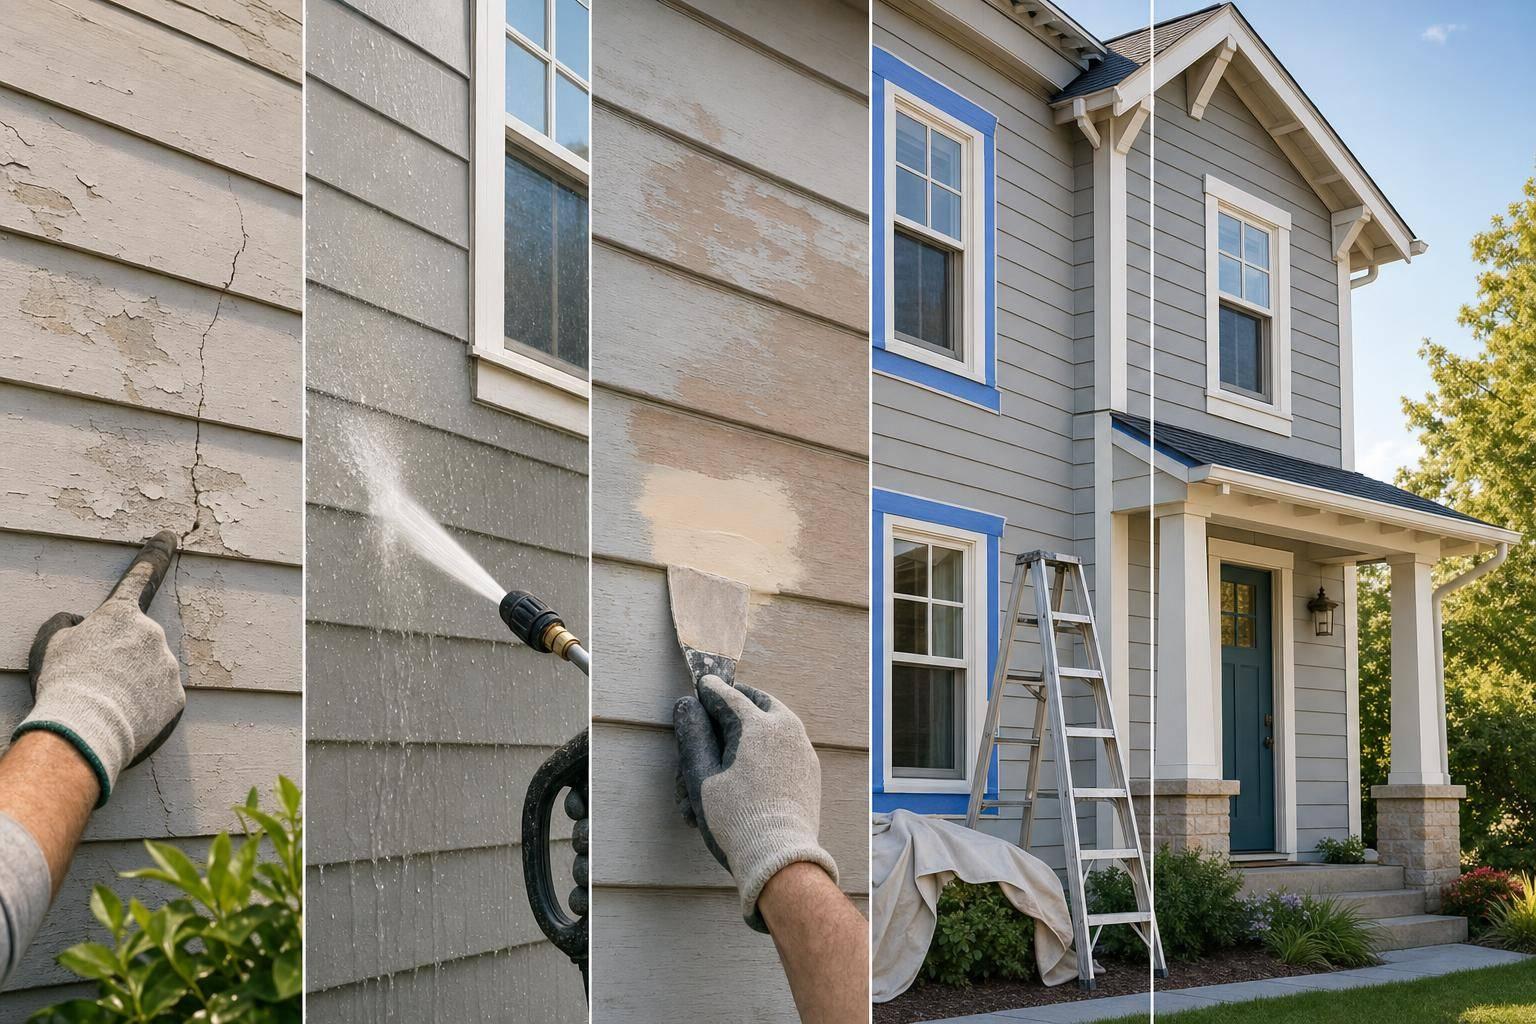
How to Prepare Your Home for an Exterior Paint Job
Most exterior paint problems start before the first coat goes on. If I want paint to last, I need to inspect the house, clean every surface, fix damaged spots, protect the area around the home, and wait for dry weather before painting starts.
Here’s the short version:
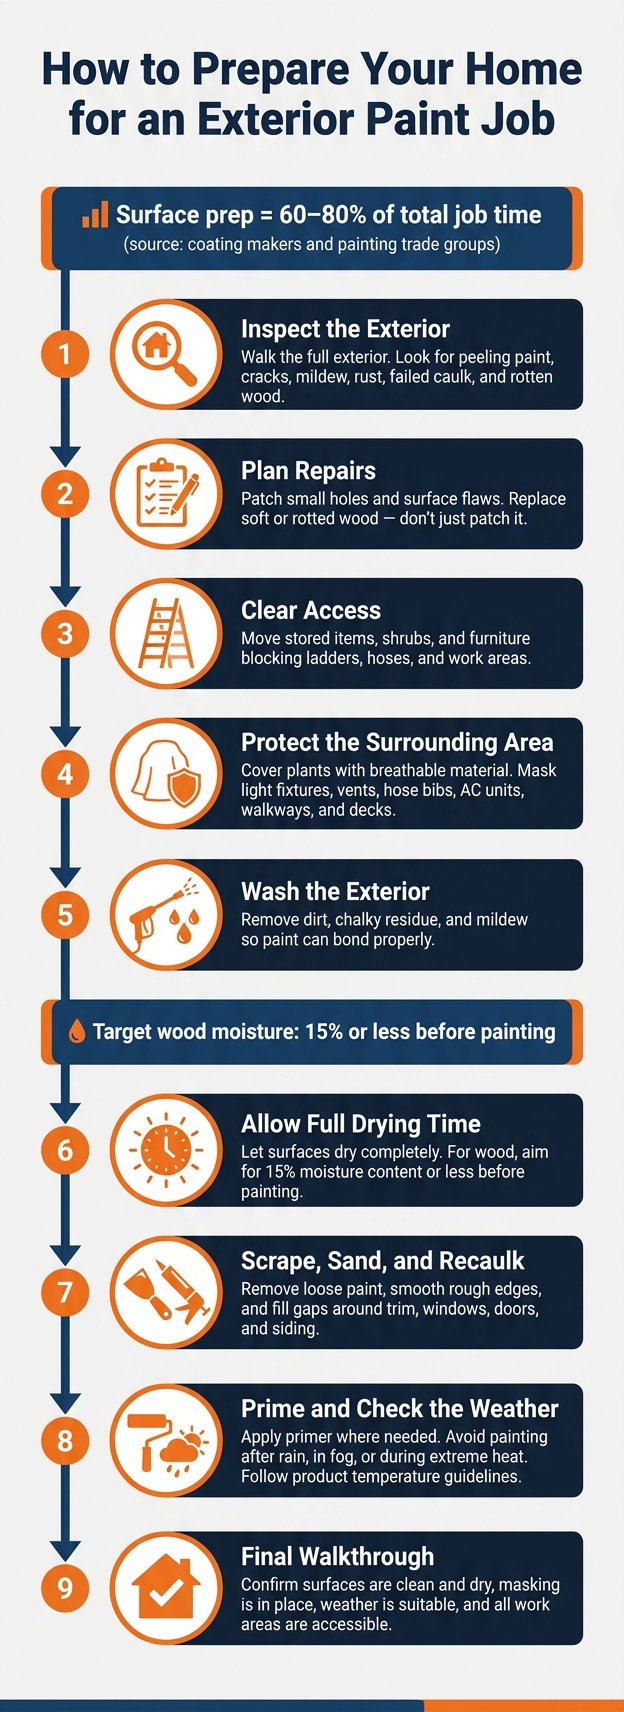
- Check the whole exterior for peeling paint, cracks, mildew, rust, failed caulk, and rotten wood
- Figure out repairs first so I know what can be patched and what must be replaced
- Clear access for ladders, hoses, and work areas
- Move and cover nearby items like furniture, grills, plants, lights, vents, decks, and walkways
- Wash the house to remove dirt, chalky residue, and mildew
- Let surfaces dry fully before scraping, sanding, caulking, priming, or painting
- Scrape, sand, and recaulk where needed so paint goes onto a sound surface
- Check the weather and avoid rain, fog, high moisture, or very hot conditions
- Do one last walkaround before the first coat
A few facts make this pretty clear. According to coating makers and painting trade groups, surface prep can take 60% to 80% of the total job time on many exterior projects. And if wood moisture is too high, paint failure can happen fast, which is why many pros aim for 15% moisture content or less before painting wood.
If I skip prep, I risk peeling, uneven coverage, and shorter paint life. If I handle prep first, the paint has a much better shot at holding up against sun, salt air, dirt, and moisture.
This article breaks that process down into simple steps so I can get the house ready the right way.
How to Prep Your Home for Exterior Painting: Step-by-Step Guide
How to prep house exterior for painting. | Hyde Tools
sbb-itb-ba1d7b9
Inspect the Exterior and Define the Scope of Work
Walk the entire outside of the house before any paint goes on. As you go, look for surface damage, failed caulk, mildew, rust, and rot. Check each exterior surface for peeling paint, chalking, cracks, holes, and any spots where old materials have started to fail.
This walkaround sets the scope of work. It tells you what needs cleaning, what needs repair, what should be replaced, and what needs protection before the job starts. It also helps sort small surface flaws from damage that calls for full replacement.
Find Damage That Needs Patching, Repair, or Board Replacement
Patch small holes and minor surface flaws before painting. These issues are usually part of prep work and can be fixed without replacing the material.
Soft or rotted wood is a different story. Replace it instead of patching it, especially near windows or along siding, where water damage can spread. Cracks should also be repaired before painting so the coating goes onto a stable surface.
Confirm Access for Ladders and Work Areas
Once the repair list is done, make sure the crew can safely reach every part of the job. They need open space for ladders, hoses, and other equipment.
Move stored items, shrubs, or outdoor furniture that block access. If any areas are tight or hard to reach, note them before work begins so there are no surprises once the crew is on-site.
Protect the Yard, Fixtures, and Surrounding Surfaces
Once repairs are mapped out and access is open, it’s time to protect the area around the house. Before any paint goes on, clear nearby spaces and cover surfaces so the crew can work safely without leaving overspray or drips behind.
Move Furniture, Grills, Planters, and Decorations Away from the Walls
Move patio furniture, grills, planters, and decorations away from the walls. This gives the crew enough room to lay down drop cloths and reach each part of the exterior without working around obstacles.
Tie Back Shrubs and Cover Plants with Breathable Protection
Tie back shrubs and low branches near the siding so they don’t block access or brush against wet paint. Use breathable covers instead of sealed plastic. Plastic traps heat and moisture, which can harm plants.
After the plants are protected, cover nearby fixtures and hard surfaces.
Mask Light Fixtures, Vents, Hose Bibs, AC Units, Walkways, and Decks
Mask light fixtures, vents, hose bibs, and AC units to help stop overspray and drips. Cover walkways, decks, and other hard surfaces with drop cloths so paint stays where it belongs.
Wash, Repair, Scrape, Sand, and Caulk Before Painting
Once the area is protected, it's time to clean up the surface and fix what's in rough shape.
Wash the Exterior Before Painting
Wash the exterior before you paint. Dirt, mildew, and chalky residue can get in the way and keep paint from sticking the way it should.
After washing, let the surface dry all the way before you move on to the next step.
Allow Full Drying Time Before Scraping, Priming, or Painting
Give the surface time to dry fully before scraping, priming, or painting. If you rush this part, you're asking for trouble.
Dry time depends on the weather and on what you're painting, whether that's wood, stucco, or trim.
Scrape Loose Material and Smooth Rough Edges
Scrape away any loose paint, then sand rough edges until they feel smooth. After that, fill gaps and recaulk open joints around trim, windows, doors, and siding.
Prime, Check the Forecast, and Do a Final Walkthrough
Once cleaning, repairs, and caulking are done, it’s time for the last round of prep: primer and weather checks.
Let repairs and caulk cure first. Then apply primer only if the surface is fully ready and the product label says it’s needed. This part matters more than people think. If you rush into paint before the surface is set, the first coat may not bond the way it should.
Weather matters too. Skip painting after rain, in fog, or during extreme heat. Stay inside the temperature range listed on the product. Moisture slows drying and can weaken adhesion. Heat can lead to lap marks, which can leave the finish looking uneven.
Final Pre-Paint Checklist Before the First Coat
Use this quick check before the first coat goes on:
- The exterior surface is clean and fully dry
- Masking and coverings are still in place
- The weather is within the product's recommended range
- Access to the work areas is clear
FAQs
How long should the exterior dry after washing?
After washing your home, let the exterior dry all the way before you paint. In most cases, that means waiting 24 to 48 hours, based on the weather and humidity.
Before you start, check that the surface feels completely dry to the touch. That simple step helps your paint go on smoothly and last longer.
How can I tell if wood is too wet to paint?
Use a moisture meter if you want the most accurate reading. For exterior wood, the moisture content should be below 15% before you paint.
No meter on hand? Tape a piece of clear plastic wrap over the wood for 24 hours. If you see condensation under the plastic, the wood is still too damp.
Sharp's Painting recommends painting only when surfaces are completely dry for a finish that lasts.
What should I do if rain is forecast during prep?
If rain is in the forecast during exterior prep, stop the job. Moisture can affect the surface and keep paint from sticking the way it should.
Sharp's Painting recommends waiting until the forecast is clear and the surfaces are fully dry before moving ahead with prep or painting.